
Need Help?
(+84)966031995

Patient: Age: Time:2026-11-02 View:1001
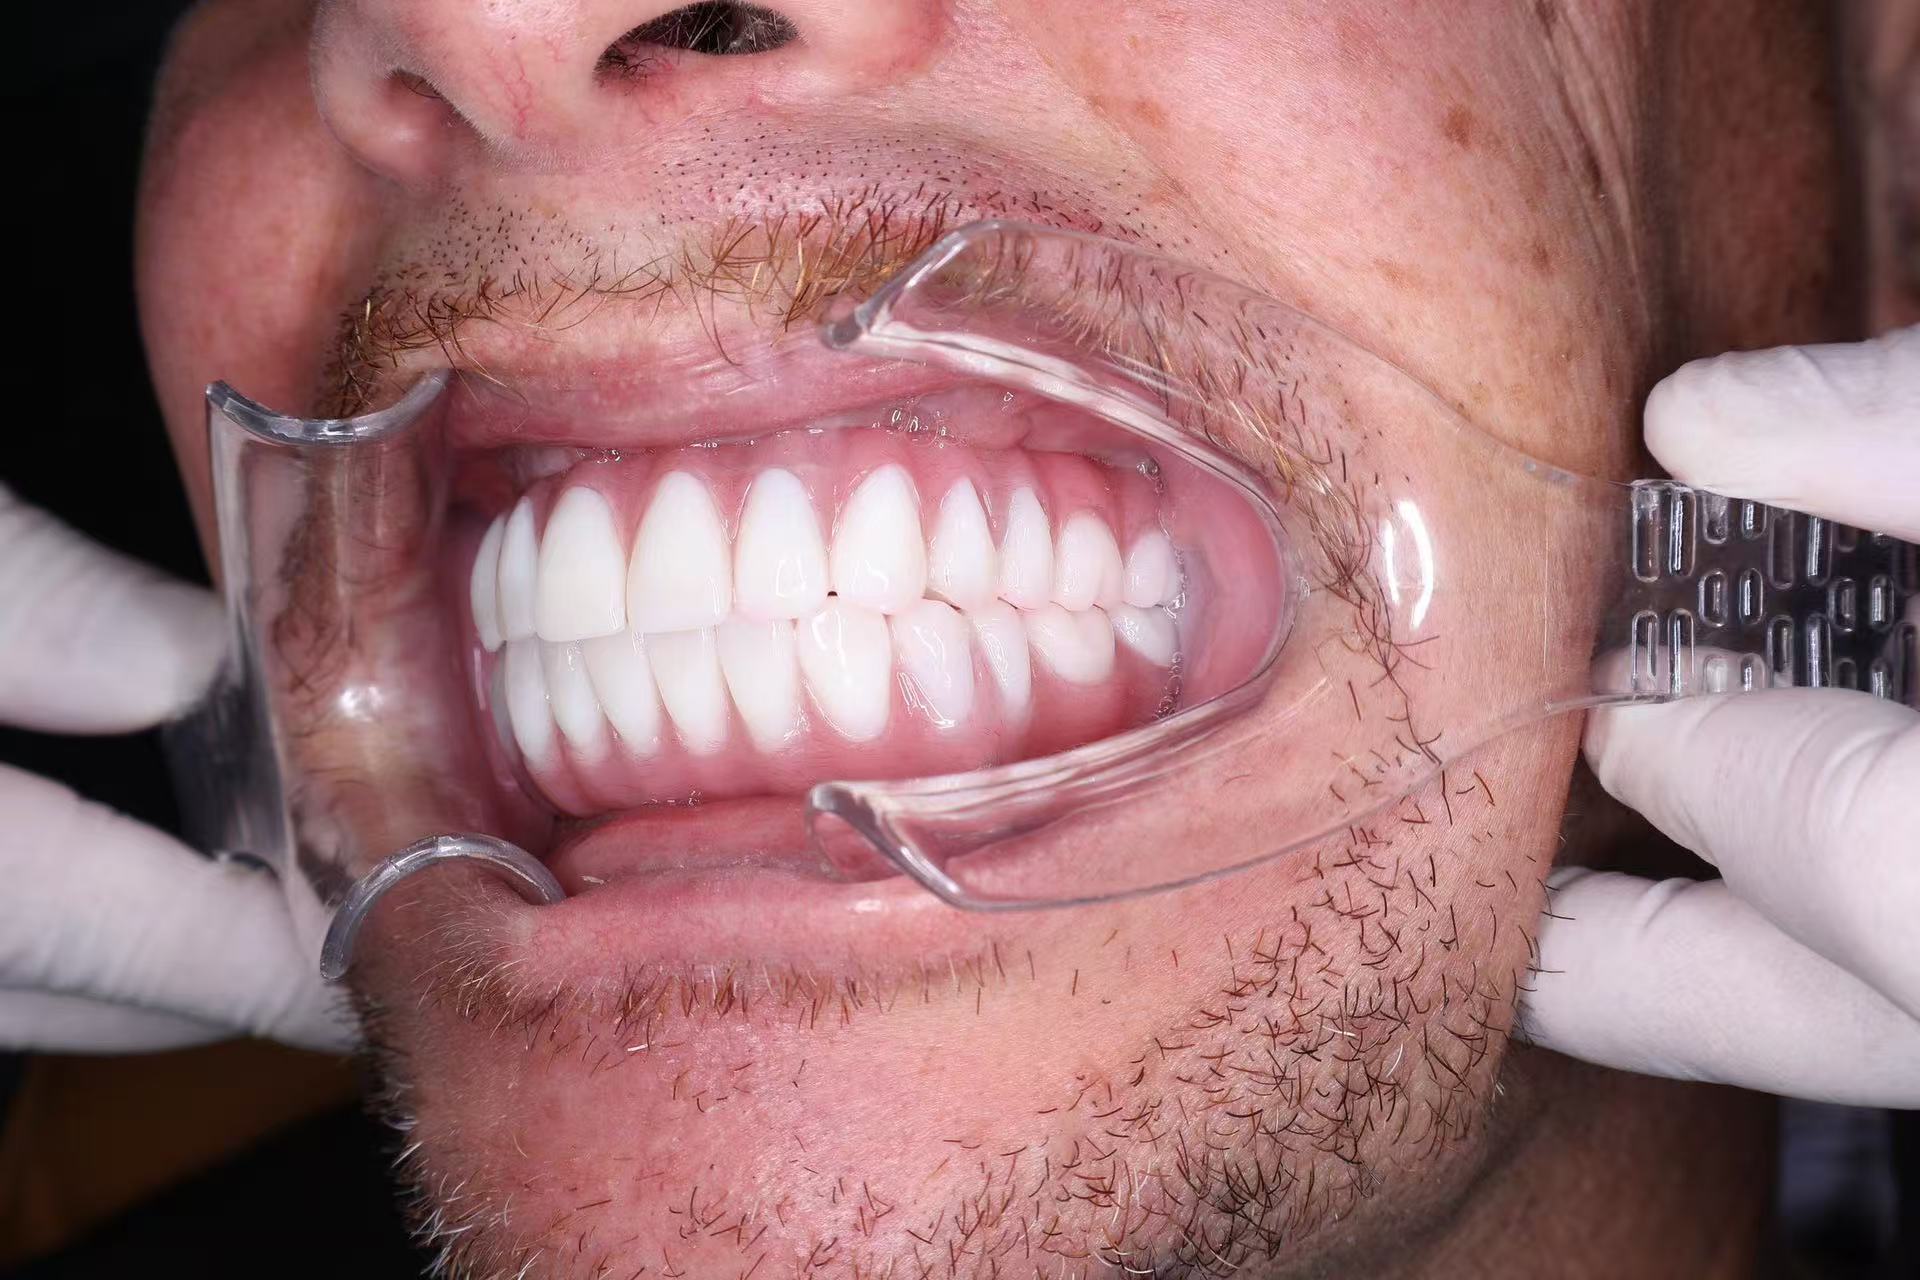
When both the upper and lower rows of teeth need replacing, a full mouth dental implant procedure involves two related jobs. The surgeon places implants in each jaw to support a bridge. The restorative dentist then fits the upper and lower bridges so your teeth meet comfortably when you close your mouth. The two jaws can reach surgery at different times, even though the teeth on both are planned together.

Before choosing implant positions, the dentist examines your remaining teeth and records how your jaws meet. If you wear dentures, bring them to the assessment. They give the dentist a starting point for discussing where your teeth sit, how much space is available for each bridge and what you would like to change about your bite.
The plan should make clear what is proposed for the upper jaw and what is proposed for the lower. In an All-on-4 or All-on-6 treatment, the number refers to the implants supporting one full row of teeth. Each jaw needs its own arrangement, and the dentist considers how the two finished rows will meet before either bridge is made.
If a jaw is already missing all its teeth, there are no extractions to perform there. Where teeth remain, the surgeon removes those included in the agreed extraction plan. An implant can sometimes be placed during the same appointment. If the planned site needs more bone, the surgeon may graft it during placement or allow the graft to heal before placing an implant there.
For example, an upper jaw that needs a separate graft and a lower jaw ready for implants have different starting points. If they are treated in stages, the written plan should identify what will be done in each jaw at the first operation. That distinction is particularly useful if you are travelling to Vietnam for the surgical visit.
After numbing the area with local anaesthetic, the surgeon accesses the bone and prepares a channel for each implant. The surgeon inserts the implants at the planned positions and assesses how firmly each sits in the bone. Several implants can support a connected row of teeth, so placing a full arch does not require a separate implant beneath every replacement tooth.
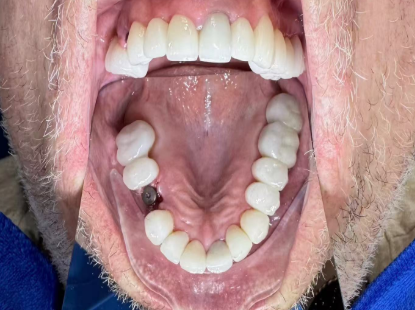
What you see after surgery depends on the next step. A healing cap may show just above the gum. Alternatively, the surgeon may place a cover screw and close the gum over the implant. In that case, the covered implant will be exposed at a later appointment so the dentist can attach the part that connects it to the restoration.
Where the implants provide sufficient support, the dentist can attach a temporary fixed bridge and adjust the points where the upper and lower teeth touch. If one arch needs to heal without carrying a fixed bridge, the dentist considers what you can wear over that area. A removable temporary denture may be suitable if it can sit clear of the surgical wound.
At the early review, the dentist examines the wounds, removes stitches if needed and assesses the temporary teeth in use. By the end of this stage, you should know which implants have been placed in each jaw, what you are wearing over them and what remains to be completed at the restorative visit.
Once healing is adequate, the dentist takes impressions or digital scans to record the implant connections. The laboratory also needs a bite record. An upper scan and a lower scan show the shape of each arch, but the bite record tells the technician how to position one row against the other when making the bridges.
For patients returning from Australia or New Zealand, this distinction affects the purpose of the next visit. The first restorative appointment may be for records, followed by a trial and a fitting. The dental implant treatment timeline explains how these appointments relate to the healing interval between visits.
At the trial, the dentist assesses how each bridge sits on its supports and how the two rows meet when you close. For example, both bridges may sit correctly on their own, yet the back teeth on the left may touch before those on the right. Finding that contact during the trial allows the dentist and laboratory to adjust the bite before completing the bridges.
At delivery, the dentist secures the final bridges, reassesses the bite and shows you how to reach beneath each bridge for cleaning. A follow-up appointment gives you a chance to report a particular spot that feels high or is difficult to clean after you have used the new teeth at home.
Need help? We're here for you.



Get in Touch!